


Phantom Blade Zero Bai Chilian guide: two phases and quest cutoff
Prepare before Bai Chilian, read her teleport and aerial attack cues, manage Sha-Chi and follow the Broken Illusory Pipa quest after the Crimson Forest fight.
FAQ
Do I need a specific weapon to beat Bai Chilian?
Can I hold guard for the whole aerial sequence?
Why keep getting hit after her projectiles stop?
Does winning automatically finish the Pipa quest?
What should you finish before the fight?
Review early quest deadlines, especially Yu’er’s tasks and Quick Hand Zhang’s first relic search. Bai Chilian advances the main story. The Mirrorwood flower sets are also worth checking while you are here, but they do not replace quest hand-ins. Her arena is near Mirrorwood Depths in the eastern part of Crimson Forest.
How should you read the first phase?
| What you can see | Response to practise |
|---|---|
| A sideways aerial roll and projectile volley | Defend while keeping track of her; she can reappear behind you for follow-up slashes |
| She disappears | Turn your attention to the next appearance instead of committing to a long attack into empty space |
| A Sha-Chi-draining surprise sequence | Preserve room to dodge the follow-up; low Sha-Chi makes holding guard indefinitely risky |
| Her sequence ends and she pauses | Use a short punish, then reset instead of assuming she will remain still |
Prioritise the follow-up after a teleport and your remaining Sha-Chi. Weapon choices are options, not entry requirements: use recovery timings you already understand. No minimum-damage build or no-hit strategy has been verified here.
What changes in the second phase?
She spends more time suspended above the arena. Watch the attack cue rather than using one defensive response for every spin: blockable sequences can end in a dodge-required red attack. If lock-on points the camera too high to read the ground and her landing, release it temporarily and restore it when the view is useful.
When a wind circle builds beneath her, move out of its area and prepare for the landing and follow-up. When she is staggered and returns to ground level, close the gap promptly enough to use that opening. Chasing every airborne movement wastes time and makes the camera harder to manage.
Should you plan around the helper or a fixed health percentage?
No fixed percentage is used here. Published guides disagree on the helper’s trigger, and also differ in how they describe guarding the spinning sequence. Our practical rule is to read the actual cue and preserve a dodge for its finisher. The combat basics explain defensive colours; we do not promise that guarding the whole sequence is safe.
What should you do after winning?
The equipment rewards include White Serpent & Crimson Viper and Resonance Talisman. The Broken Illusory Pipa starts the longer repair route: ask Jewel in Village of Lu, then Myst in Pangzhen. Follow the lake quest dependencies to turn that broken item into a traversal tool and advance the ending-related tale.
How should you structure an attempt instead of changing your whole build?
Use the first attempt to identify the sequence that actually hits you. A teleport hit, an exhausted guard and an aerial landing require different responses. Keep a familiar weapon pair while learning those cues; replacing every weapon between attempts makes it harder to tell whether your timing improved.
| Repeated failure | What to change on the next attempt |
|---|---|
| Hit while swinging at her previous position | End your own string sooner when she disappears; locate the reappearance before attacking again |
| Guard breaks during a long sequence | Check Sha-Chi before committing to held guard; reserve movement for the follow-up instead of assuming the gauge will last |
| Camera loses the landing area | Release lock-on temporarily during the high aerial movement; recover a view of the floor and her descent |
| Stagger ends before you reach her | Stay within a manageable approach distance when safe, rather than retreating to the far edge after every attack |
| Hit while healing after a projectile volley | Treat the volley as part of a sequence; wait for the teleport/follow-up to resolve before using the apparent pause |
What is the practical first-phase response loop?
On the sideways aerial roll, cover the projectile volley and keep looking for the reappearance behind you. Do not retaliate merely because the projectiles have stopped. Read the following slashes, then use the recovery window. For the Sha-Chi-draining surprise sequence, prioritize a clear lateral escape for its dangerous follow-up rather than trying to force the same guard response.
A short punish gives you time to see whether she stays nearby or vanishes again. The goal is not to land a particular number of hits every time. It is to avoid beginning an attack you cannot stop before her next sequence. If a familiar weapon has a long recovery, use a shorter part of its moveset until that transition is reliable.
How do you turn second-phase defense into damage?
Separate the airborne sequence, landing, and grounded stagger. While she is suspended, avoid swinging underneath her simply because you are close. Track the end of the sequence, move clear of the wind-circle landing area when it appears and keep a dodge available for the red finisher. Once a genuine stagger puts her on the ground, move in promptly and use the opening.
Do not budget a heal around an assumed helper trigger or a fixed health percentage. Those are not reliable timing cues for this guide. A readable end to her sequence is the cue you can act on. If you are also seeing input stutter, check the PC patch and controller notes before blaming every missed response on combat timing.
Review notes
Reviewed November 6, 2026. GameNavi organizes verified route and mechanic facts into original decision tables and practical checks. These are not claims of a complete in-house playthrough; unresolved conditions remain identified in the article.
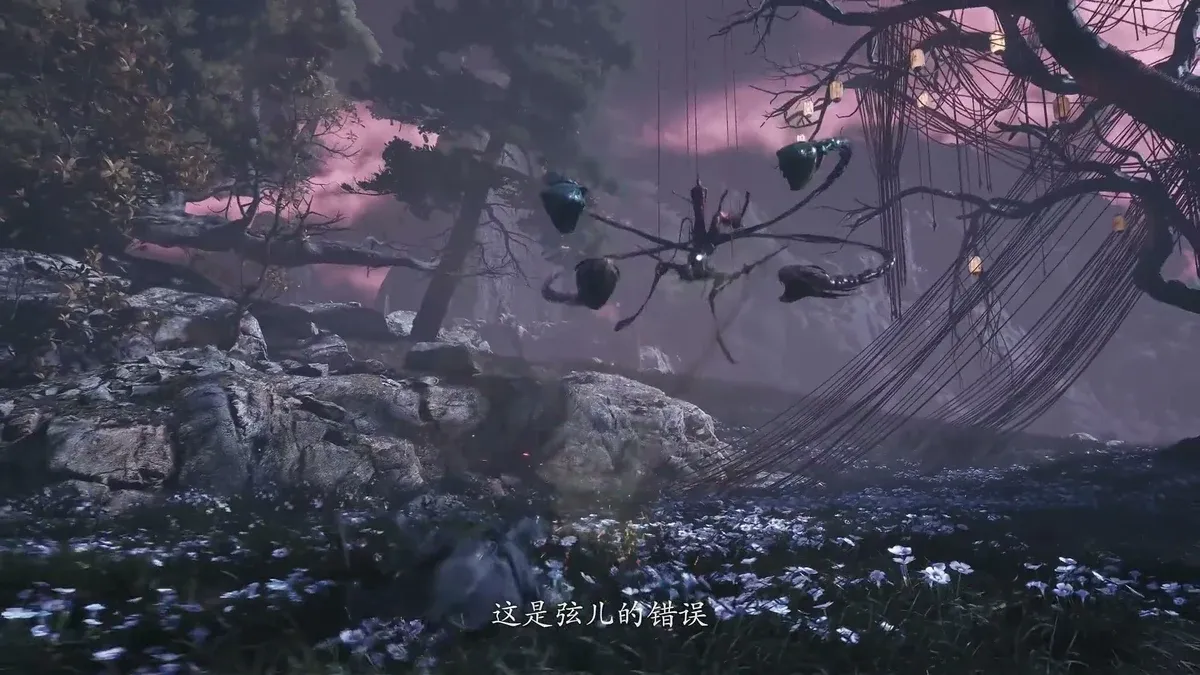
Cover source: S-GAME / Steam · © S-GAME. Official promotional screenshot or gameplay frame of the encounter.
Related Articles
phantom-blade-zero
Phantom Blade Zero Jing Ye: mounted, shield and sword decisions
Check Yu’er’s deadline before Jing Ye, then read mounted, shield and sword states with a practical observation table and source limits.
phantom-blade-zero
Phantom Blade Zero Peng Meng: guard and punish decisions
Diagnose empty Sha-Chi, unsafe approaches after the roar and interrupted retaliation against Peng Meng, then check the reward and Yu’er’s next task.
phantom-blade-zero
Phantom Blade Zero The Hunt: wagon versus waterfall fight
Separate The Hunt’s wagon encounter from the waterfall rematch, review chain hazards and follow-ups, and connect the reward to Crimson Forest.
Was this helpful?
Thanks for the feedback!